- Dust sheets or similar material to protect carpets furniture etc.
- A bucket or bowl of clean water plus rags for cleaning.
- A tin of paint thinned with transparent glaze according to manufacturers instructions.
- A roller, tray and/or a brush.
- A stippling brush, available from decorators' merchants & DIY stores.
Like all paint-effects, stippling can be a little messy, so wear old clothing or overalls.
Also: remove or cover all carpets, furniture and other valuables from the room.
Prepare
the surface that is to be painted, apply at least 2 coats of mid-sheen paint in your chosen
colour
and allow to dry thoroughly.
Water-based paint dries quickly so start on your smallest walls first; your speed will improve with experience.
Have a bucket or bowl of clean water and some rags close at hand for cleaning purposes.
The aim is to produce an even finish, which unfortunately shows any defects in the wall clearly.
Great care must be taken to thoroughly prepare the surface before the basecoat is applied to ensure a sound, flat surface for the stippling.
STIPPLING PROCESS.
In this technique the topcoat, or glaze is patterned by dabbing the stippling brush repeatedly over the surface.
Where the bristles make contact the glaze is lifted revealing tiny spots of the basecoat.
It is advisable to get someone else to paint the wall with the mixed glaze ahead of you, so that you can concentrate on creating the effect.
If you must work alone, paint small sections, 3ft (1 metre) at a time, & stop the stippling process 6 inches (150mm) short of the leading edge.
Apply the mixed glaze evenly with a brush or roller.
Moisten the tips of the stippling brush with a little of the glaze, then dab the glaze coat with the stippling brush firmly and vigorously.
Make sure the brush strikes the wall 'square-on' (at 900) to avoid scuffs and smears.
Occasionally wipe the tips of the bristles with a lint-free cloth to remove surplus glaze. This will help maintain a subtle finished effect.
Repeat the process over the area to be decorated, lapping-in on wet edges.
The challenge of stippling is to move the brush whilst it is not touching the glaze, yet strike the surface at 900 (square-on).
This is difficult to achieve at first, but with practise, it will become second nature.
A fitch or small paintbrush can be used on intricate areas such as mouldings, internal corners etc.
Allow the first wall to dry before starting another to prevent spoiling the finished effect.
Allow the paint to dry before protecting with a coat of clear glaze or varnish (optional).
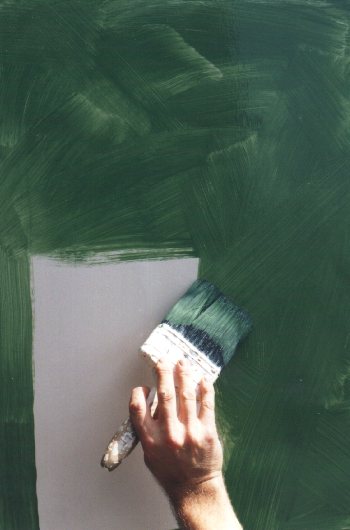
Apply glaze. |
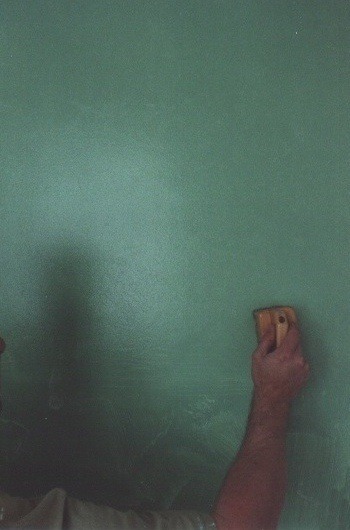
Stipple evenly. |
!!! With oil-based method, used rags must be laid flat and allowed to dry before discarding to prevent spontaneous combustion!!!
The more contrast between the basecoat and topcoat; the more pronounced the pattern will be. (Especially important with this effect)
You should not add white to the basecoat colour to make the topcoat, or vice versa. This gives poor results unless the contrast is strong.
An oil-based basecoat will greatly improve the working time of the glaze. It is advisable to use an oil-based topcoat too in this instance.
A semi sheen finish is best for the base-coat, as matt dries too quickly and silk tends to make the brush slide causing smears.
Applying the glaze thicker also makes the pattern more pronounced by revealing larger spots of the basecoat.
Work inwards from the edge of the adjacent wall, preferably with a smaller stippling brush or paintbrush. ( 150 mm x 50 mm ) or ( 6 inch x 2 inch )