YOU WILL NEED: -
- Dust
sheets or similar material to protect carpets furniture etc.
- Disposable
plastic gloves (optional).
- A
bucket or bowl of clean water plus rags for cleaning.
- A
tin of paint thinned with transparent glaze according to manufacturers
instructions.
- A
roller and tray and/or a brush.
- A
mottler or a wavy mottler (available from decorator's merchants).
Like all paint-effects, mottling can be a little messy, so wear old clothing or overalls.
Also: remove or cover all carpets, furniture and other valuables from the room.
Prepare
the surface that is to be painted, apply at least 2 coats of mid-sheen paint in your chosen
colour
and allow to dry thoroughly.
Water-based paint dries quickly so start on your smallest walls first; your speed will improve with experience.
Have a bucket or bowl of clean water and some rags close at hand for cleaning purposes.
MOTTLING PROCESS.
In this technique pressing and releasing the mottler, whilst dragging it through the glaze, produces the "mottled" pattern.
Where the mottler makes contact, the glaze is lifted revealing the base coat.
It is advisable to practise this technique on a sample board or a small area as the effect takes a little time to perfect.
Start at the top of your wall and work down to the bottom applying the mixed glaze evenly with a brush or roller in strips 3ft (1meter) wide.
Use one of the following methods to achieve the effect, but stop the mottling process 6 inches (150mm) short of the leading edge.
Wavy mottler -
.
|
This is quite difficult to explain, follow the steps below, step by step.
Hold the mottler up horizontally, as though you were going to use it to drag it down the wall.
Without touching the glaze, turn the mottler about 450 as though you were going to drag diagonally.
Now tilt your hand about 450, which should bring your wrist closer to the wall.
Drag the mottler diagonally in short strokes 4 to 6 inches (100 - 150mm), swapping from left to right.
This takes some practise, but you'll get there eventually.
|
Standard mottler -
.
|
As above, but to achieve the same wavy pattern, push your fingers into, but not through, the bristles, near the stock.
This should make the tips of the bristles form waves.
Repeat the process over the area to be decorated, lapping-in on wet edges.
Allow the first wall to dry before starting another to prevent spoiling the finished effect.
Allow the paint to dry before protecting with a coat of clear glaze or varnish (optional).
|
|
|
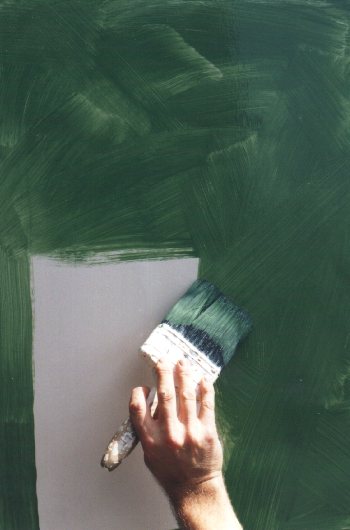
Apply glaze.
|
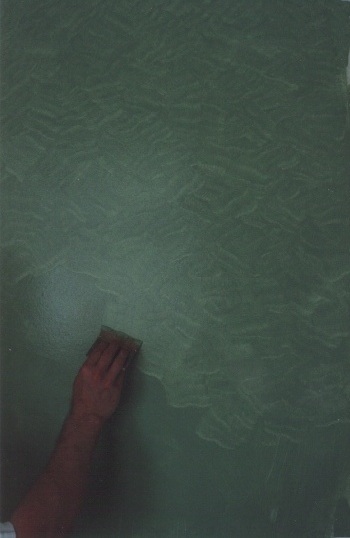
Mottle the glaze.
|
|
!!! With oil-based
method, used rags must be laid flat and allowed to dry before discarding to prevent spontanious combustion. !!!
A semi sheen or silk finish is best for the base-coat, as a matt finish allows the glaze to dry too quickly.
The more contrast between the basecoat and topcoat; the more pronounced the pattern will be. (Especially important with this effect)
You should not add white to the basecoat colour to make the topcoat, or vice versa. This gives poor results unless the contrast is strong.
An oil-based basecoat will greatly improve the working time of the glaze. It is advisable to use an oil-based topcoat too in this instance.
You needn't worry about getting paint on the ceiling or woodwork, this can be corrected later & avoiding these areas will spoil the effect.
Colours should be related in some way, either different tones of the same colour, or similar tones of related colours.
Dark or strong colours give a rich effect, but the base-coat must be fairly light compared to the glaze for the effect to be visible.